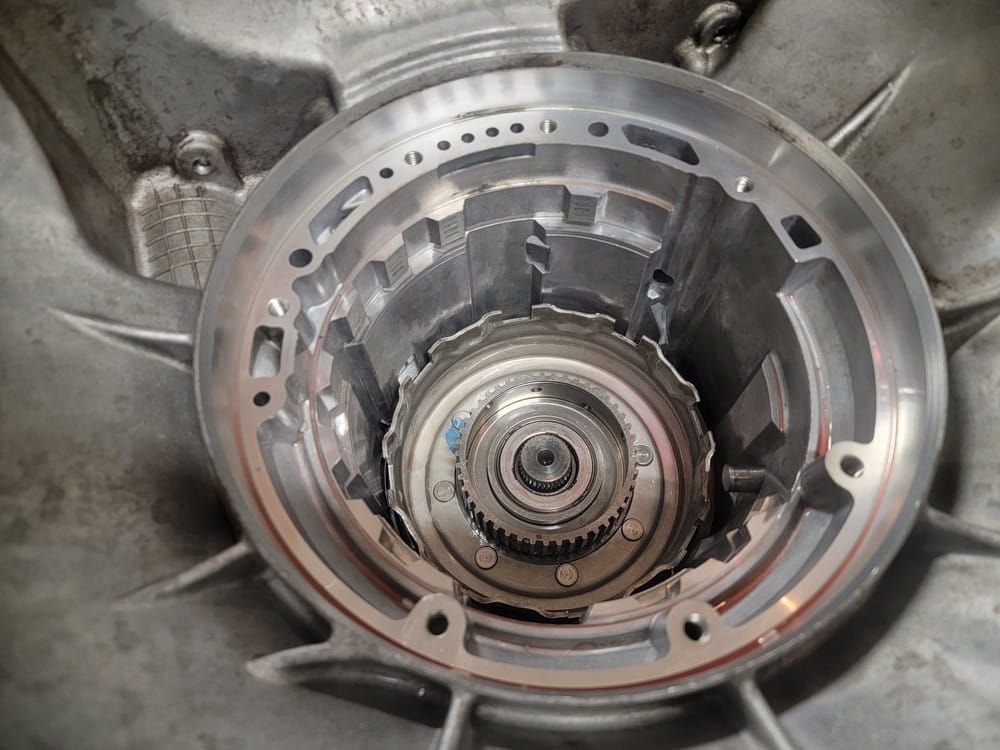
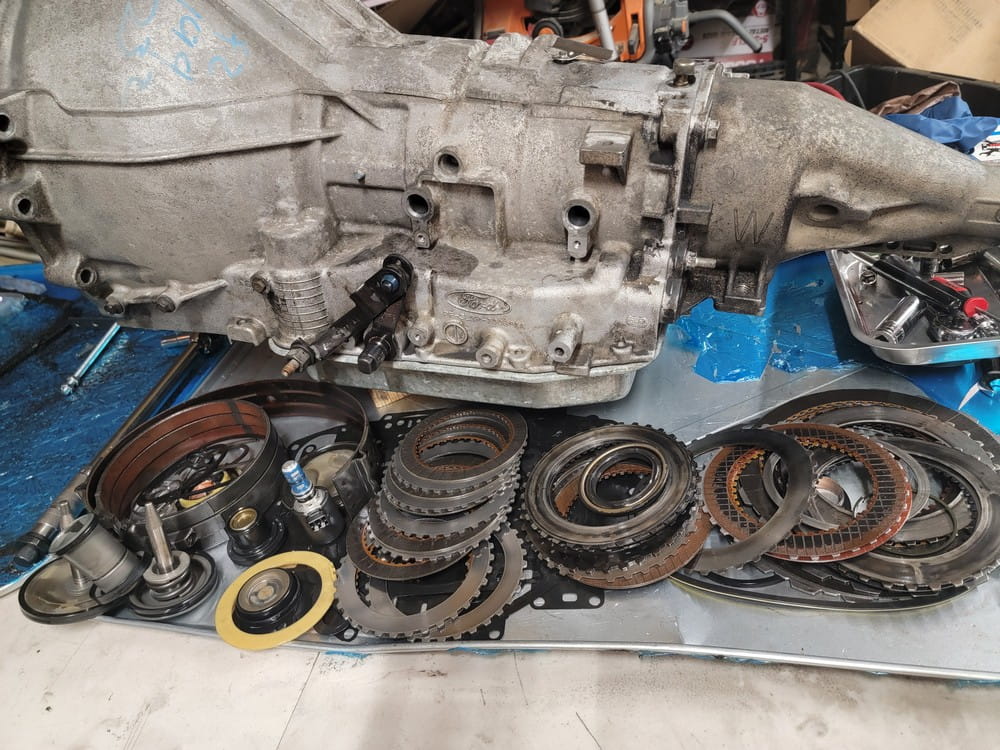
Previously I removed the transmission and took some teardown pics here. Now that the parts are in it's time to tackle the rebuild.
This is far from a complete instruction on how to do a rebuild. Just some pictures and the process I took to complete mine. I may have documented some steps out of order, but wrote the post to hopefully make the most sense.
I will probably skip over most o-rings, seals, bushings, and gasket replacement. If it was included in the rebuild or Sonnex Sure Cure kit, it got replaced. Make sure to check your clearances for clutch packs, and end play clearance of the input shaft when assembled.
All of the parts (including the replacement hard parts) were cleaned in mineral spirits. All friction plates and bands should be pre-soaked with transmission fluid before install.
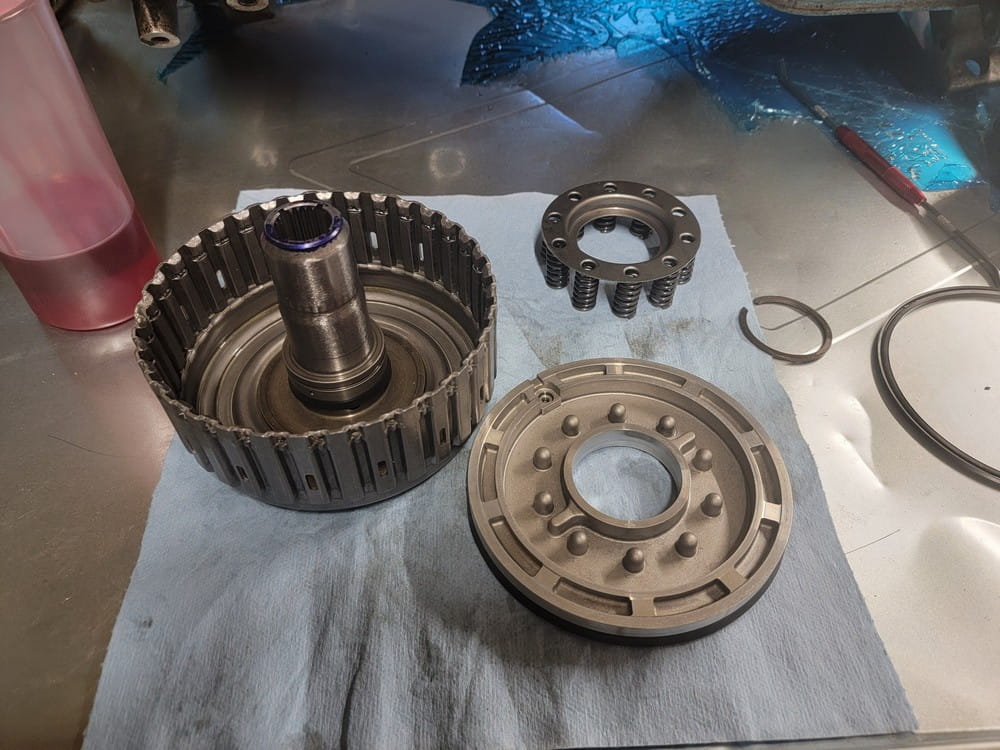
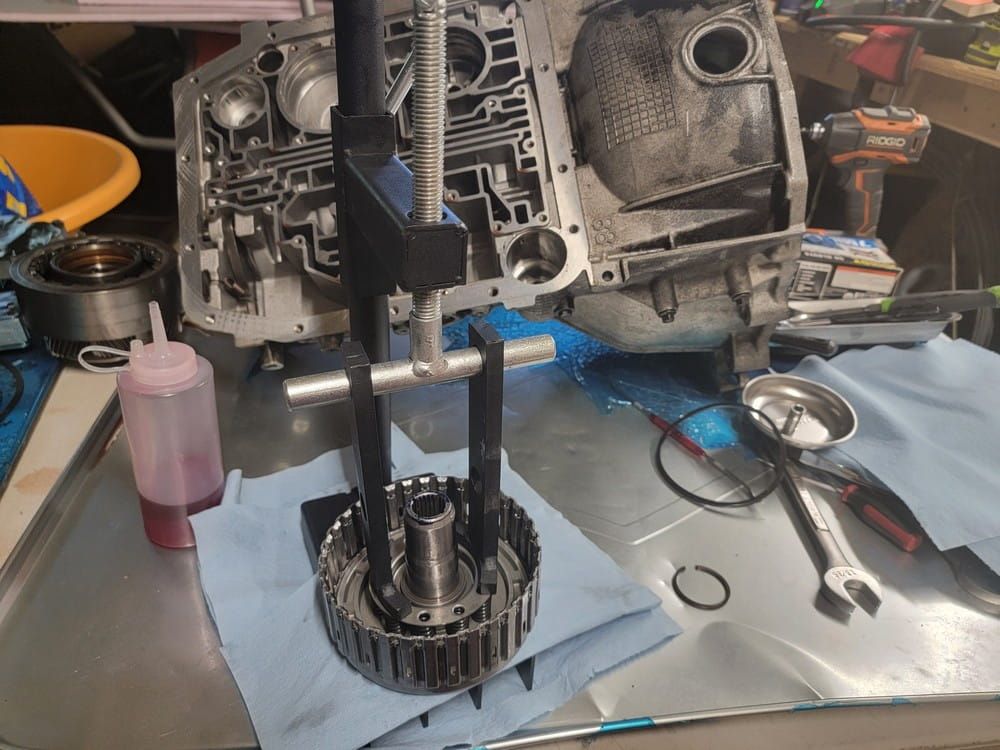
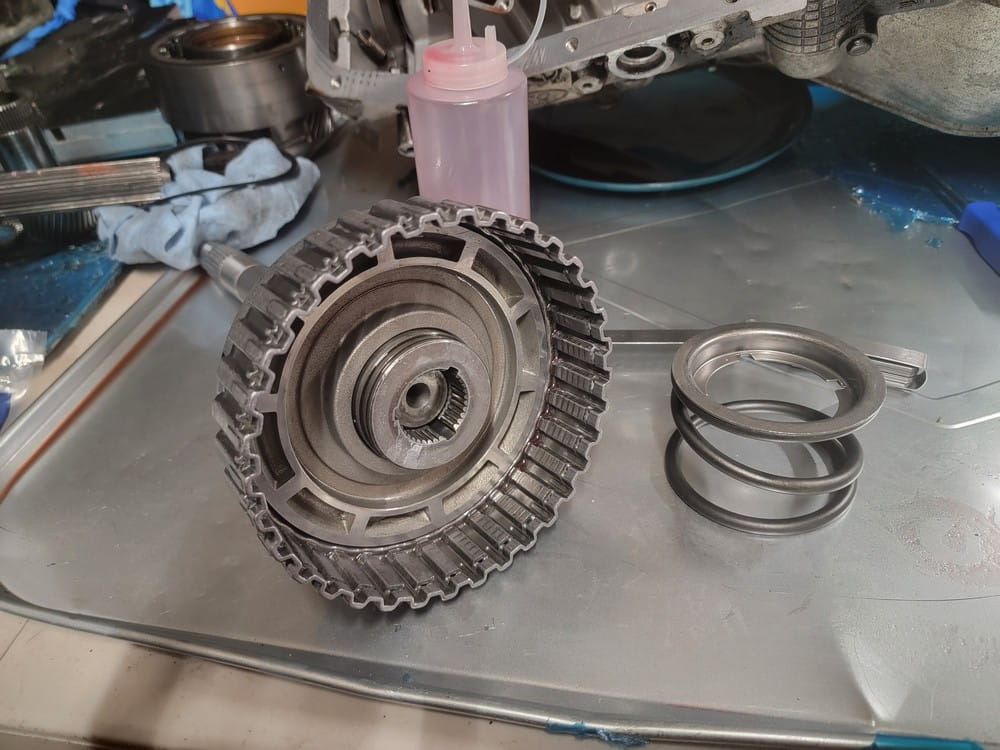
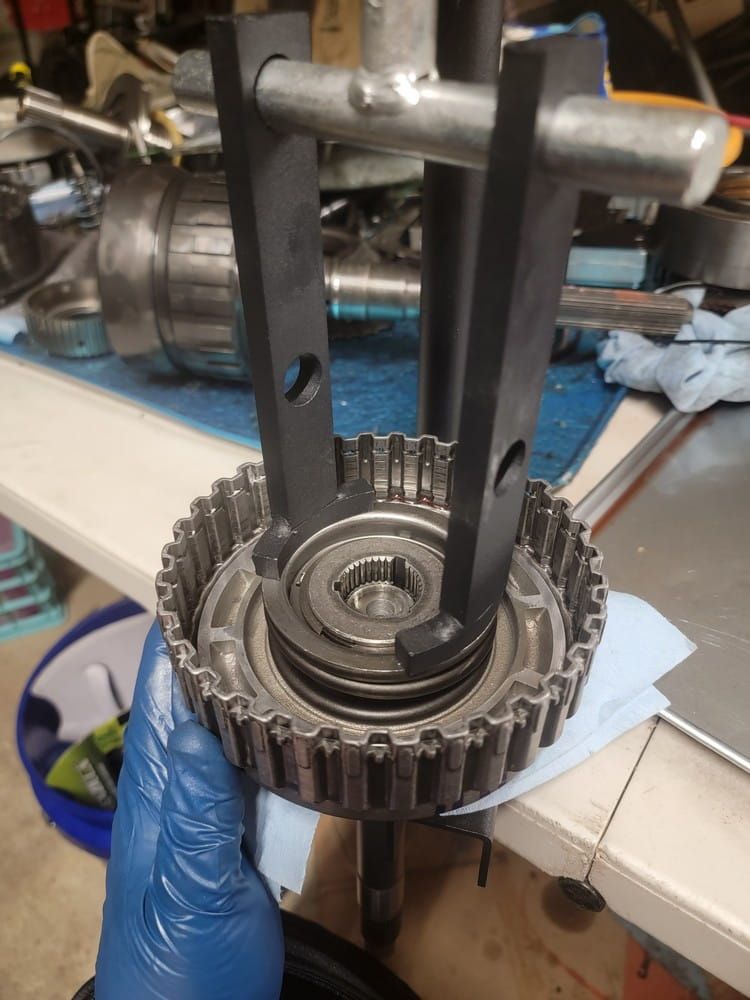
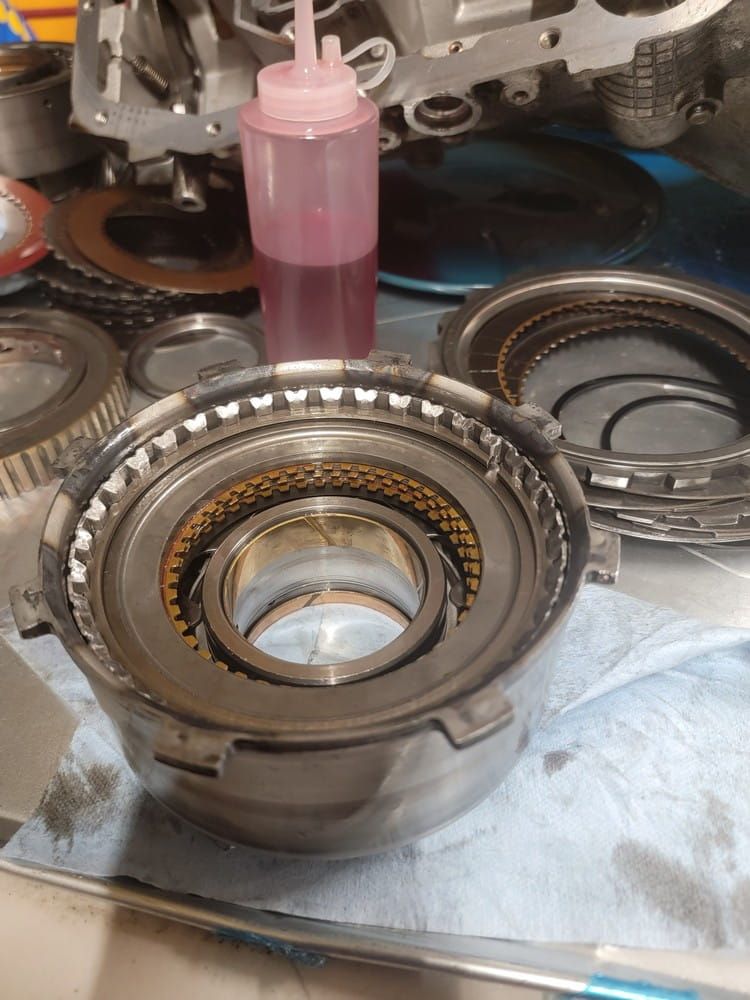
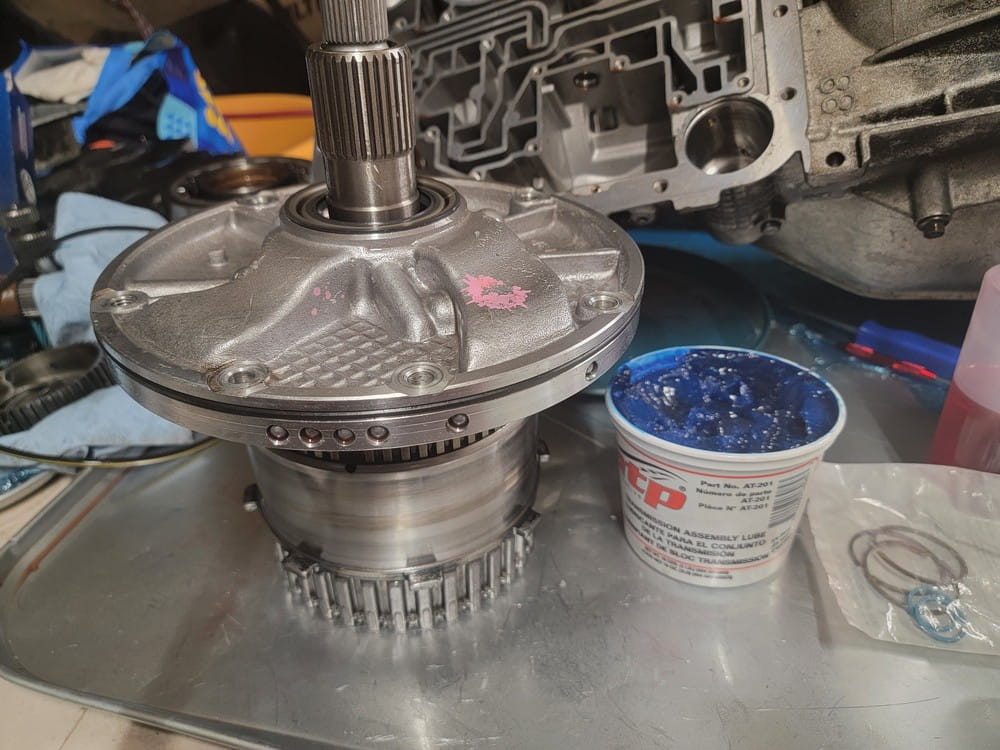
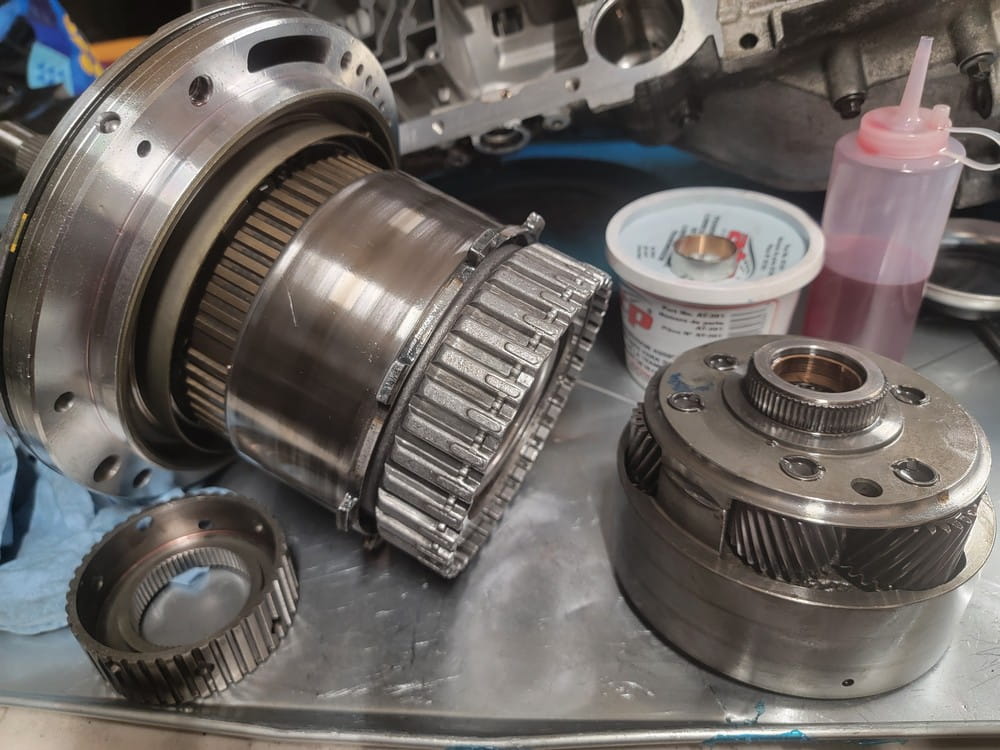
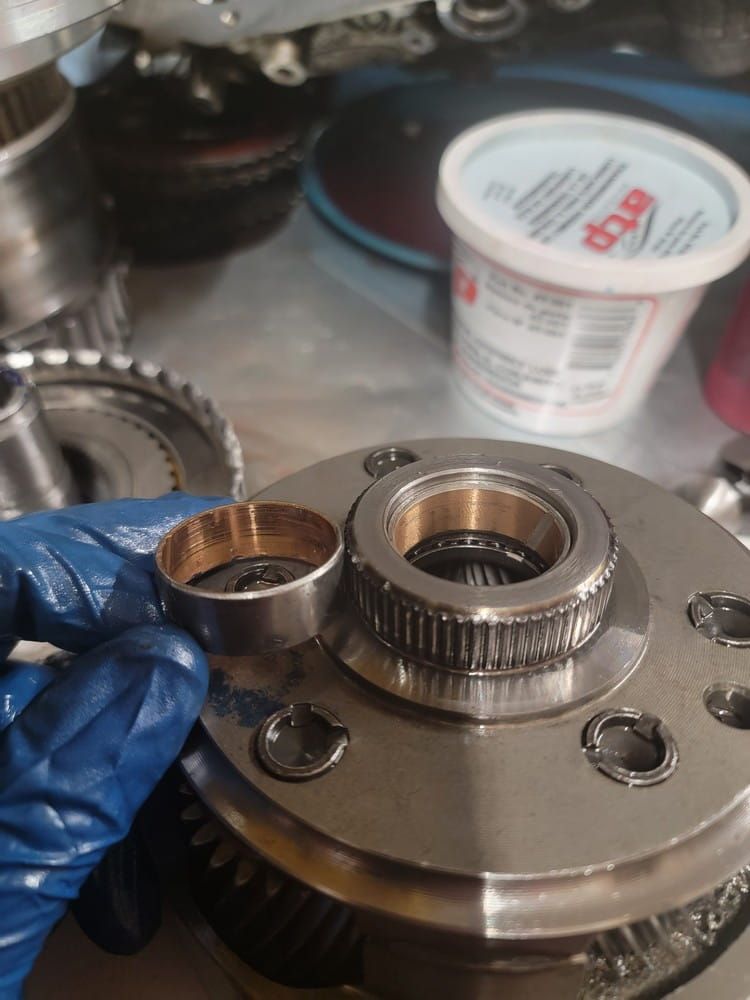
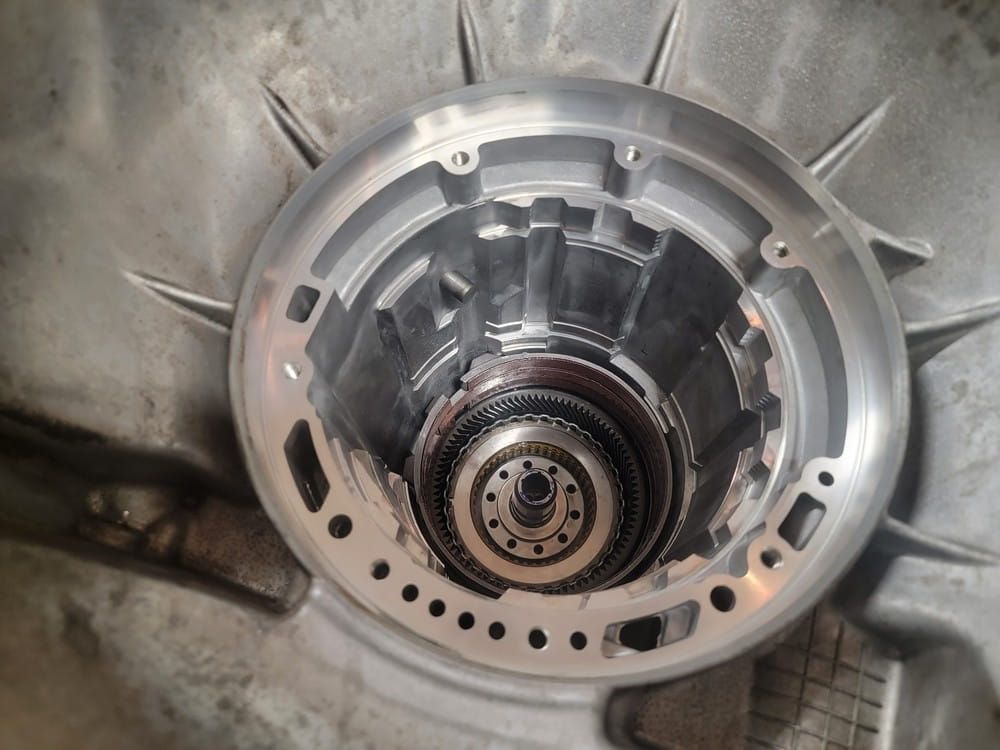
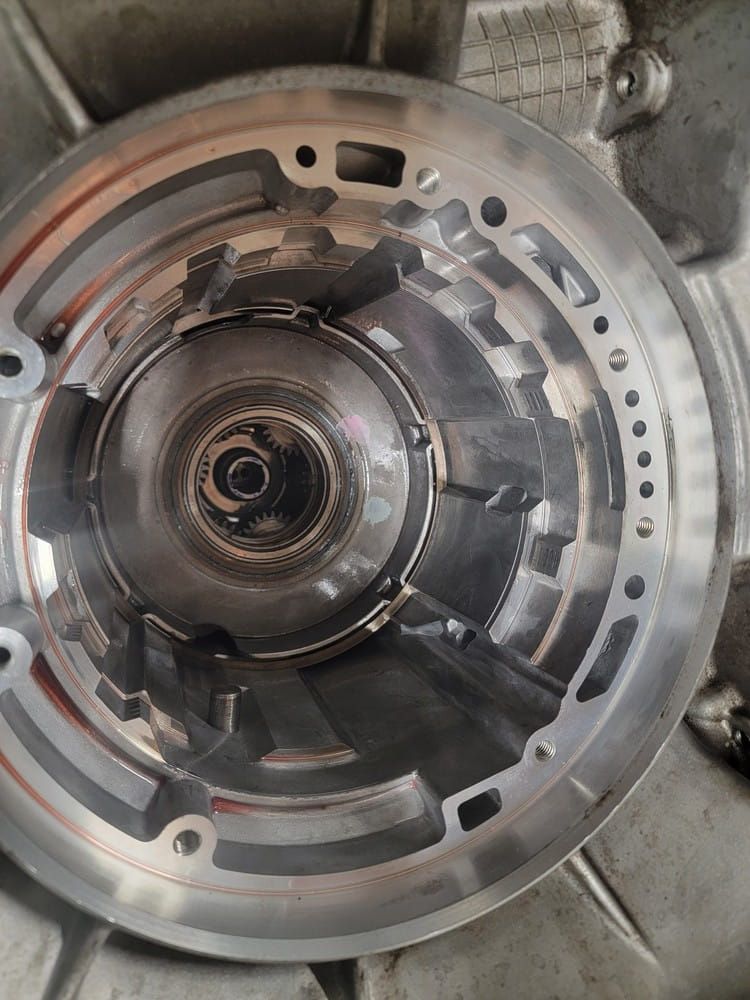
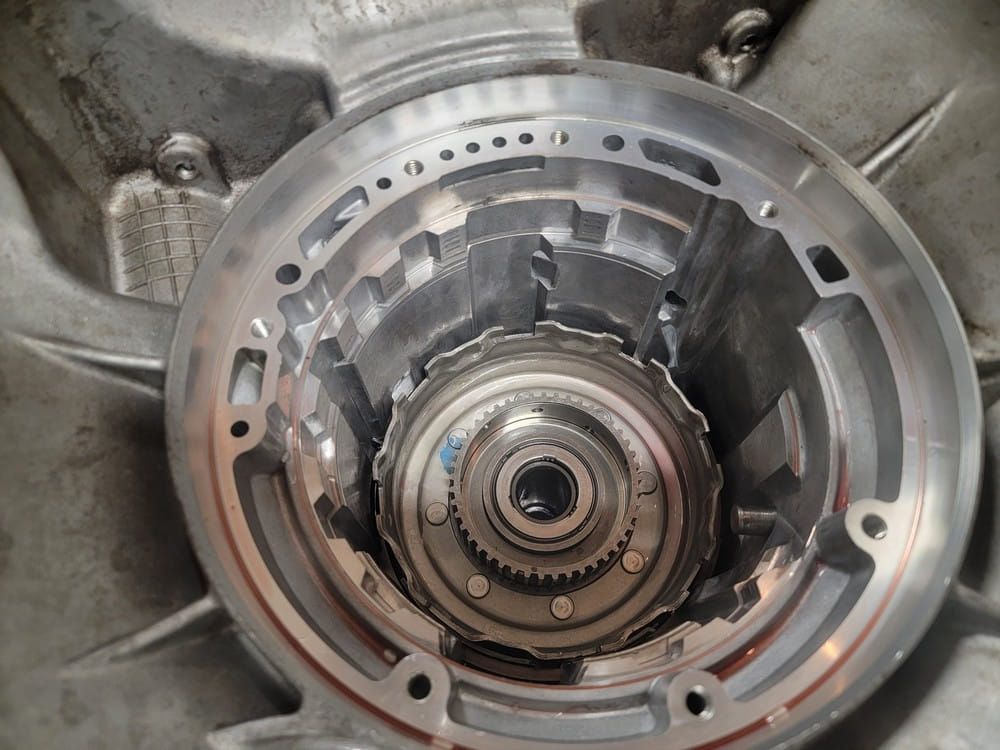
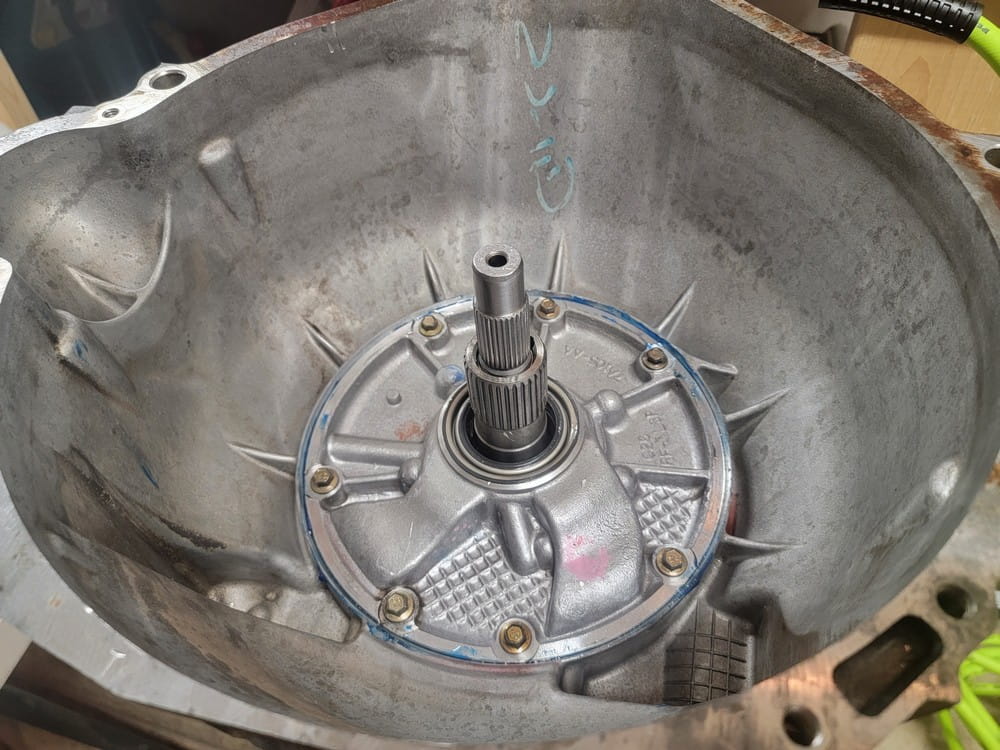
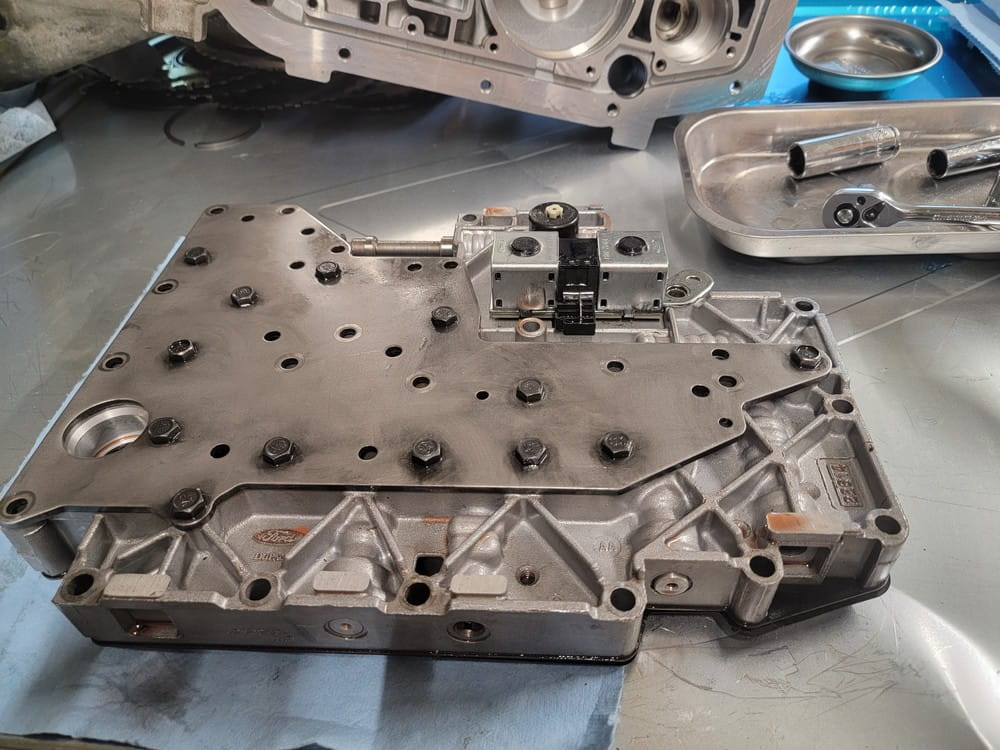
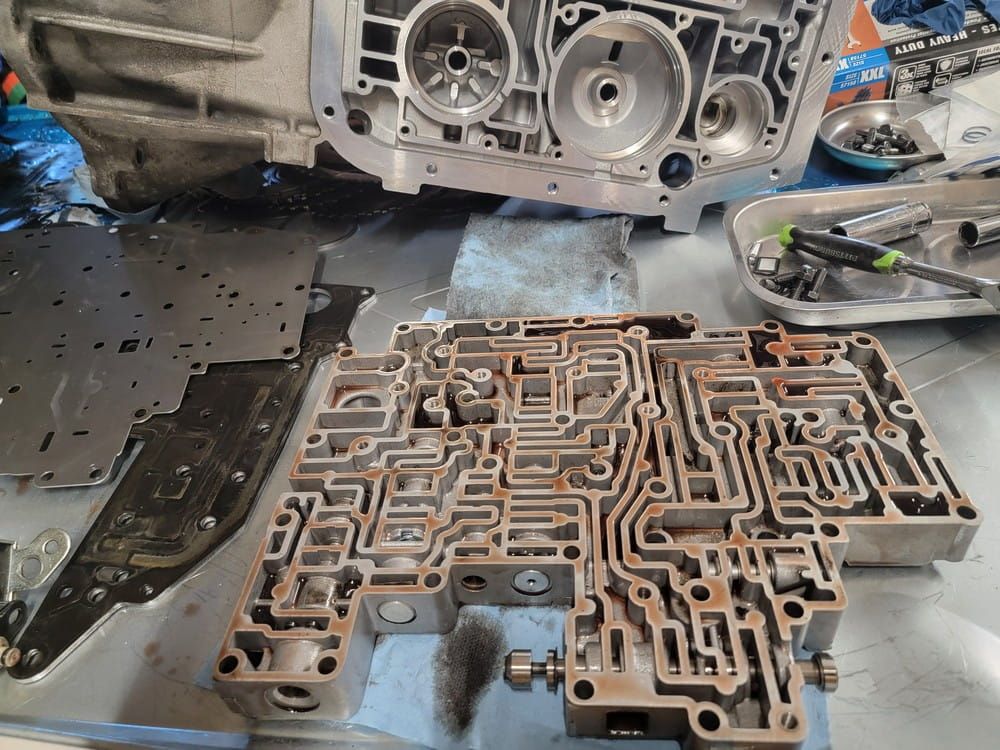
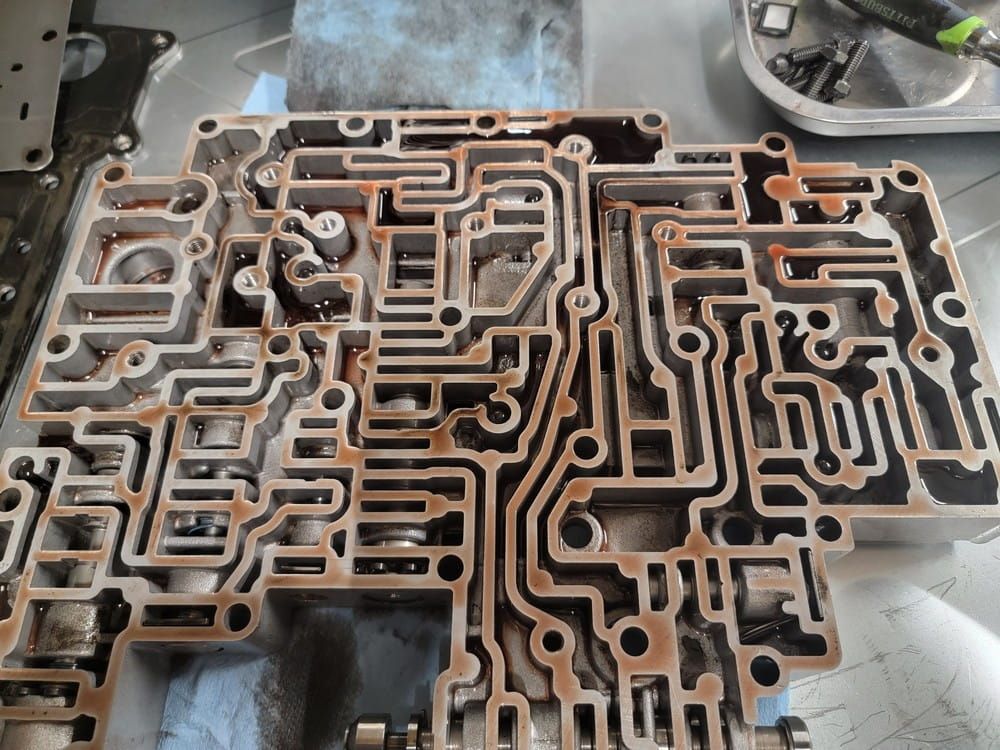
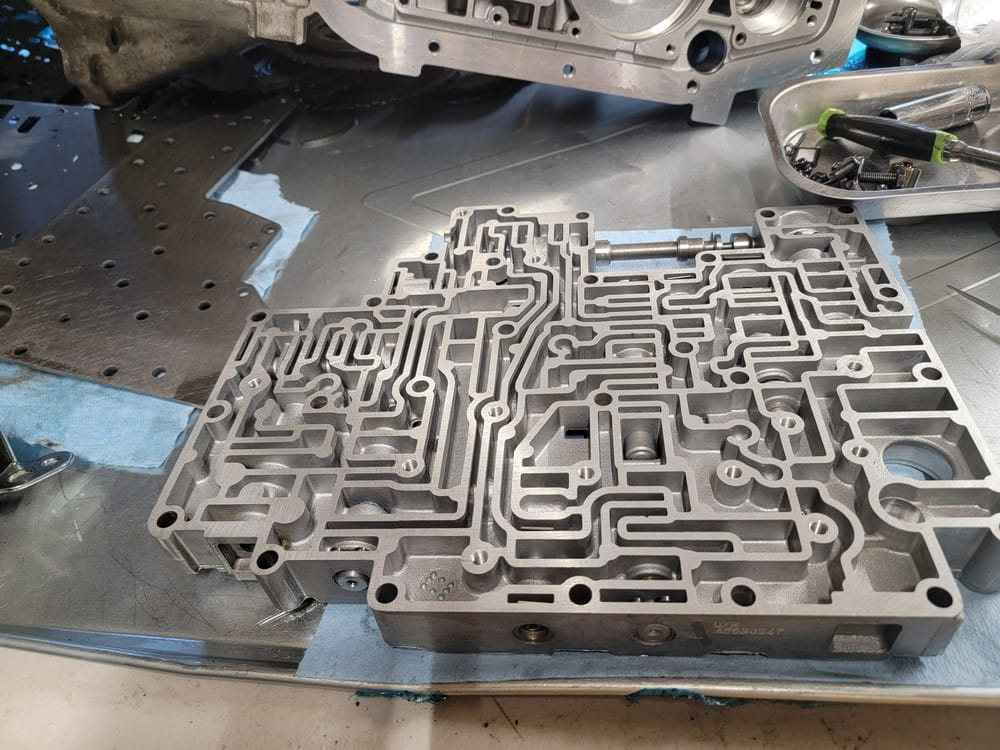
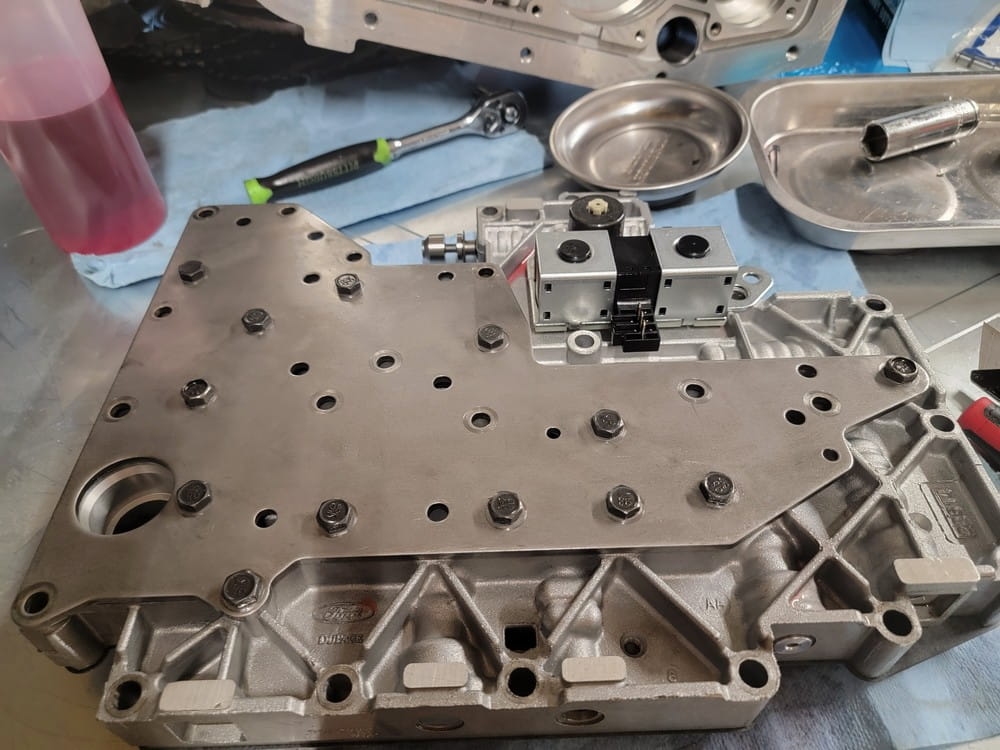
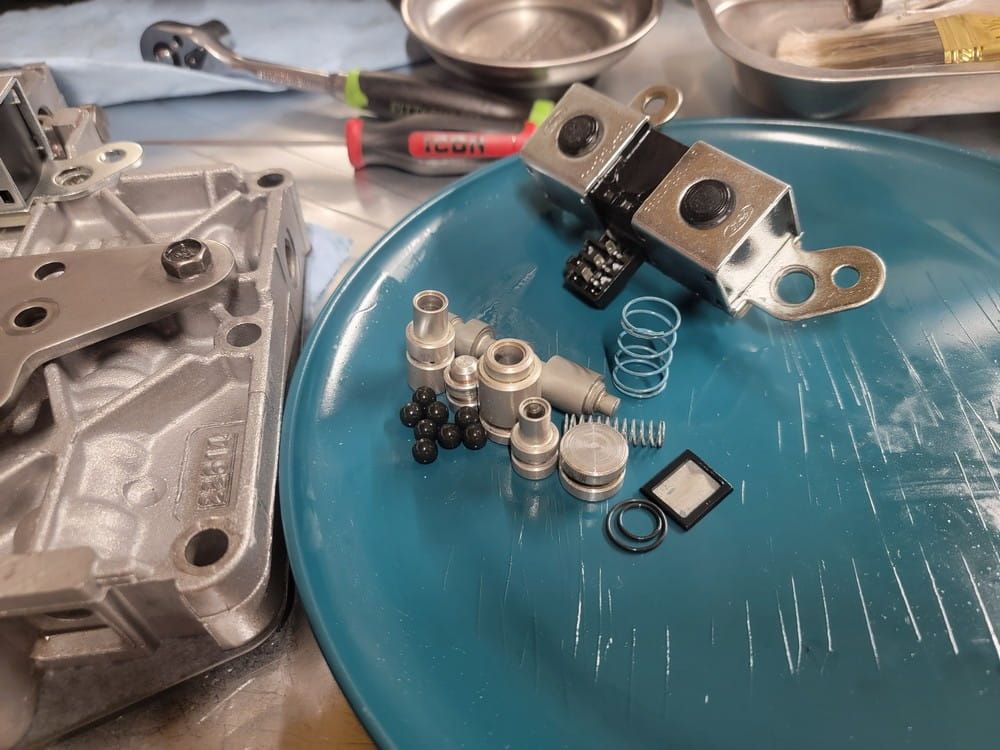
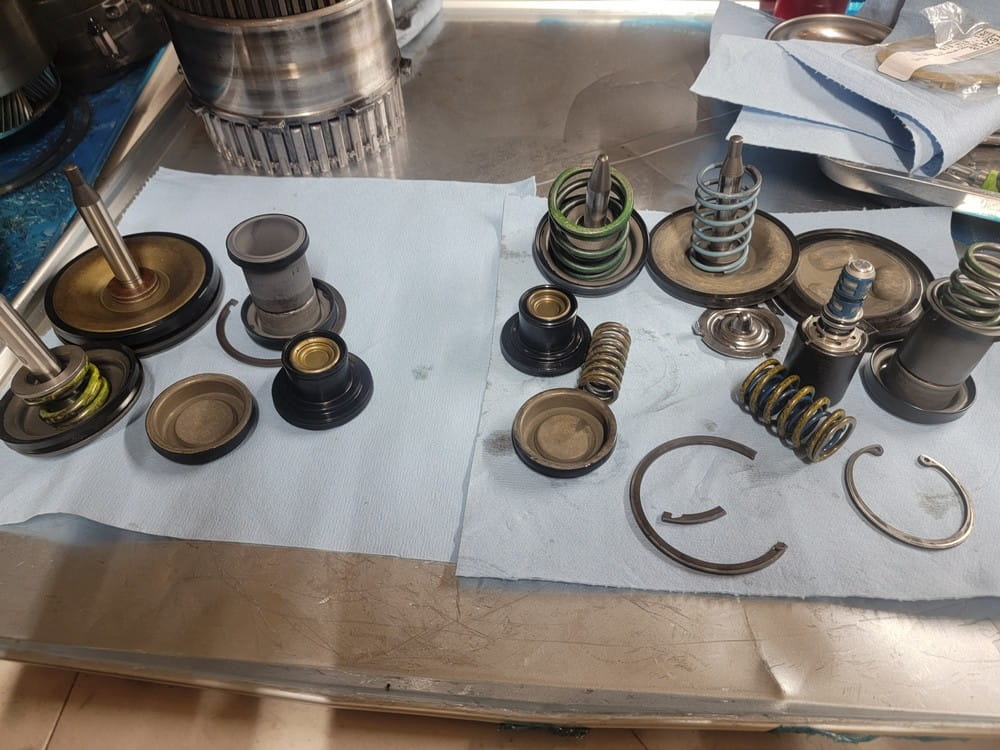
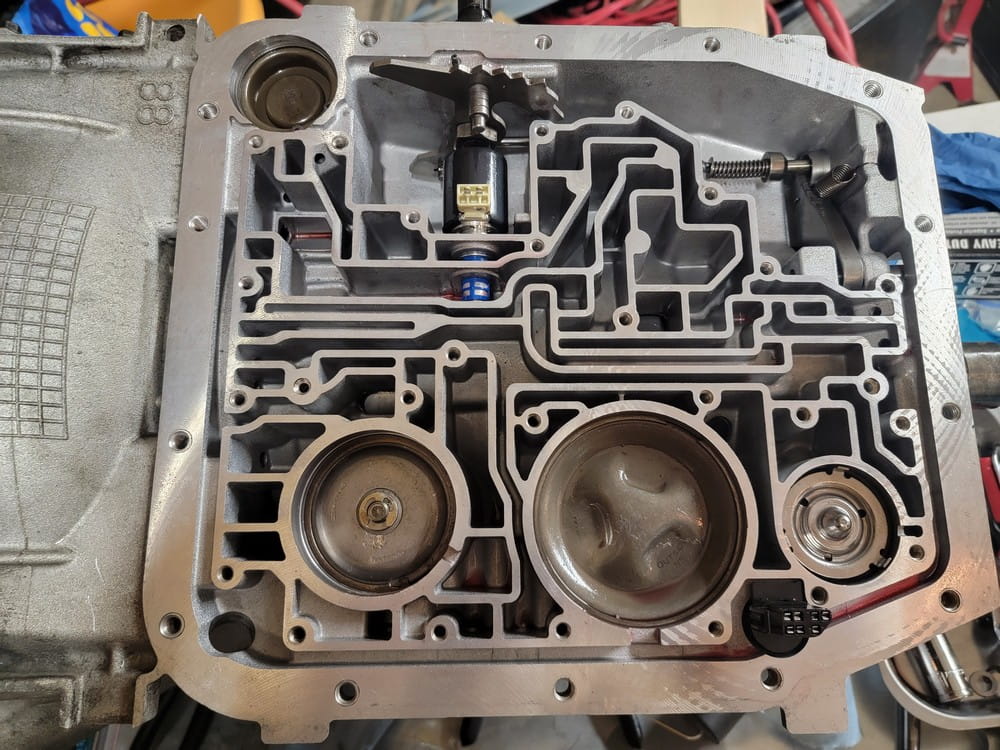
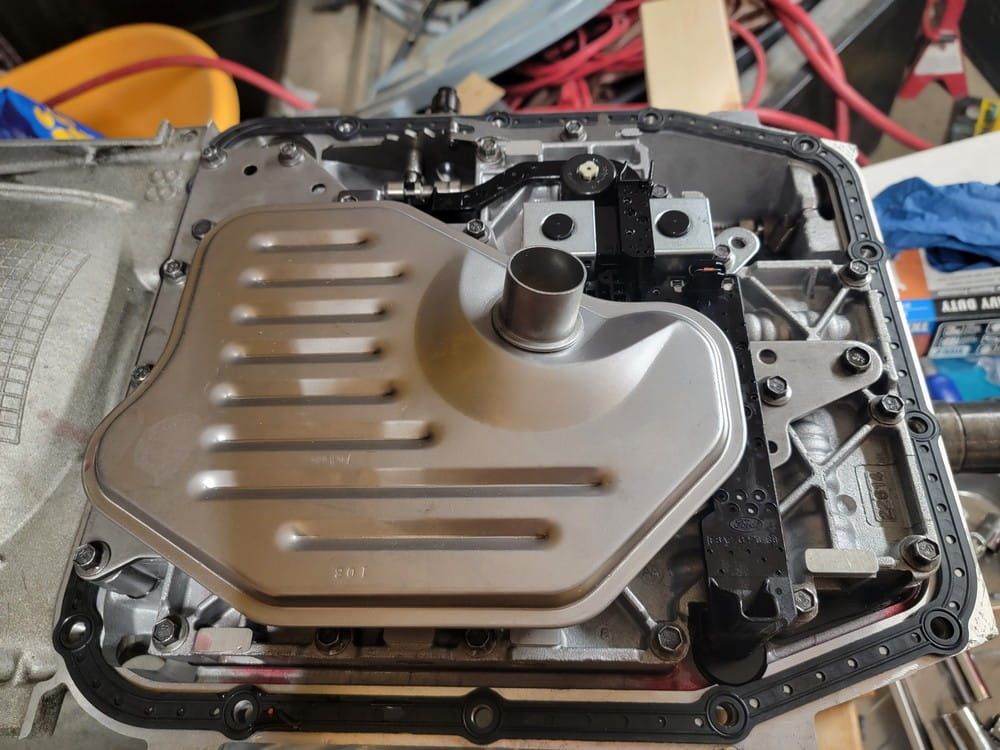
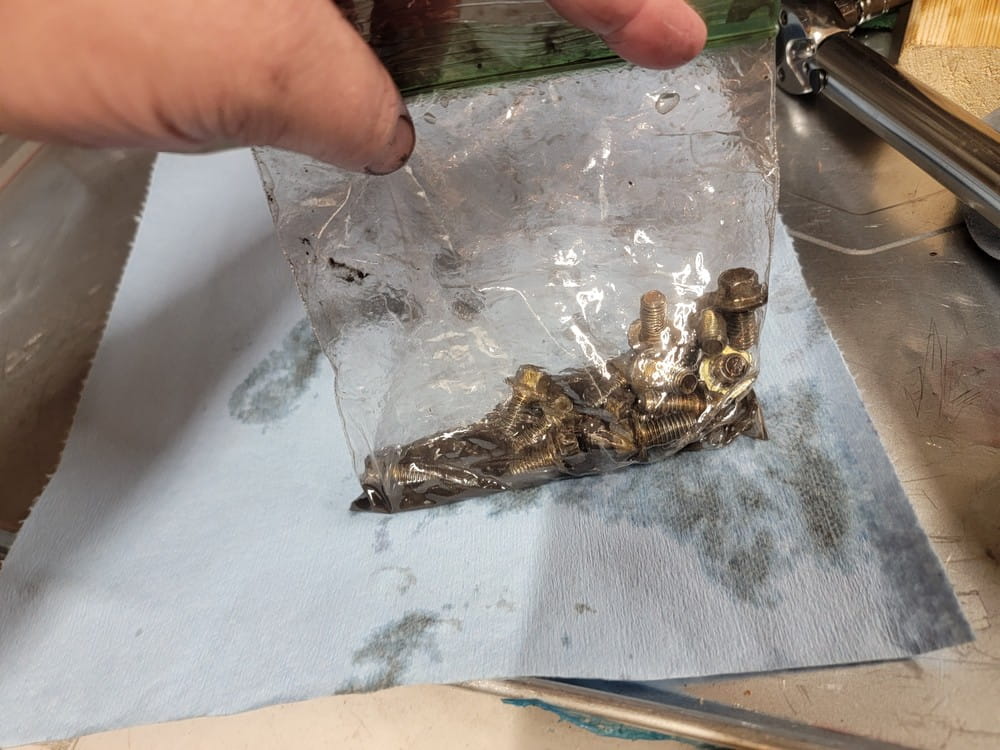
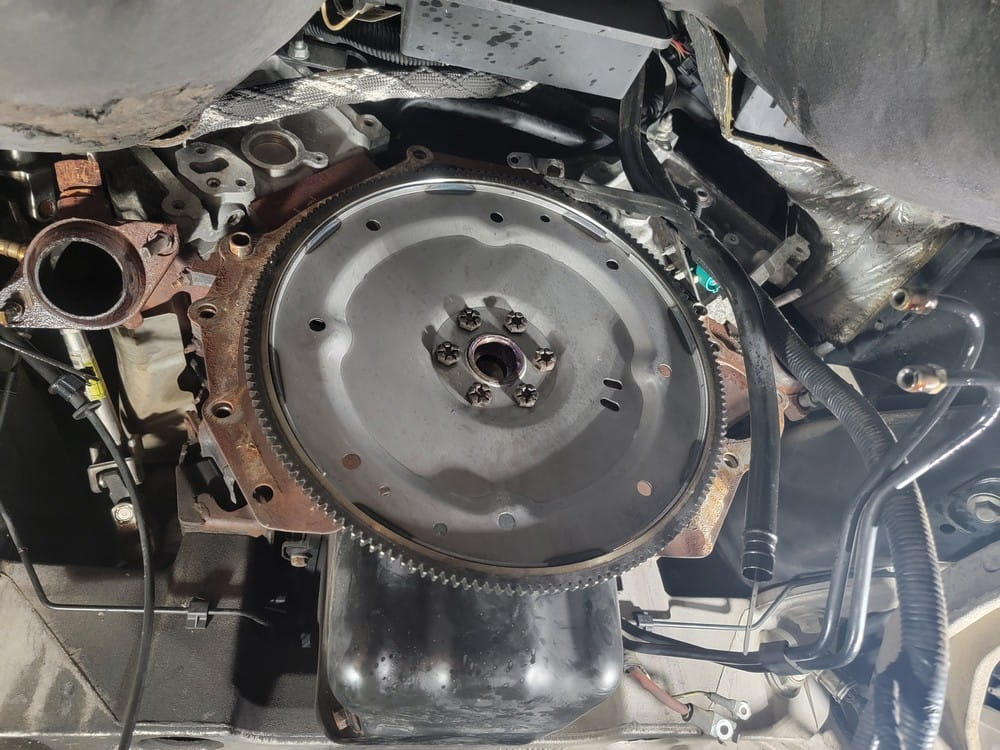
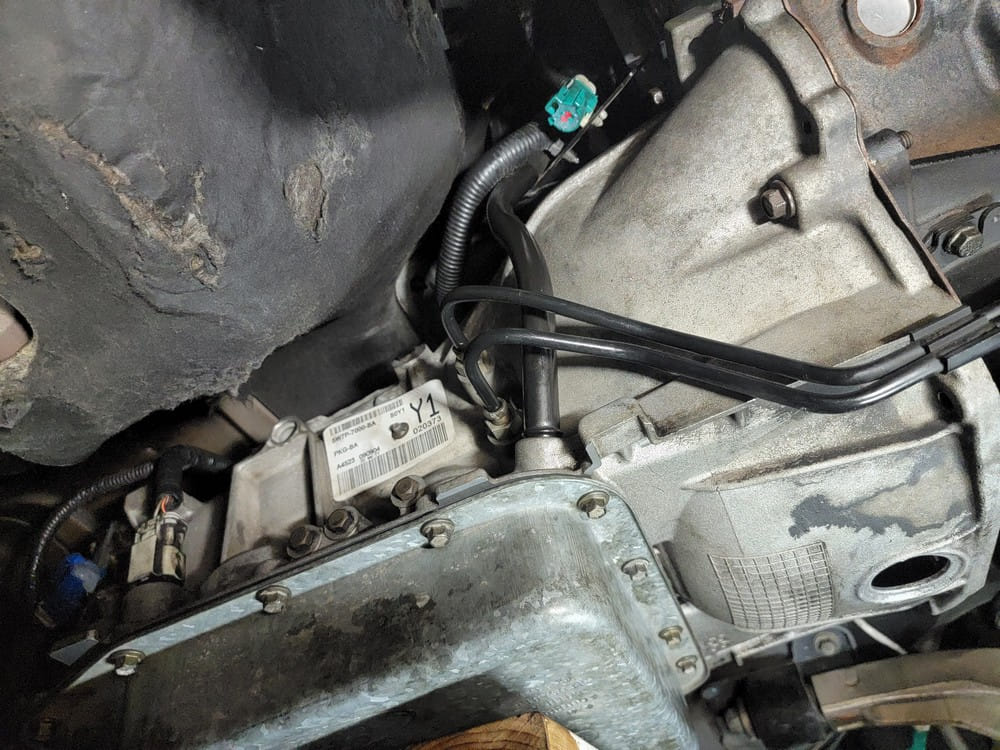
New direct clutch drum, Inner and outer seals on the direct clutch drum apply piston.Takes a special tool to compress the spring assembly to put the retaining snap ring on.After the apply piston is back in with new seals, friction(pre soak with transmission fluid) and steel plates, and the snap ring, you can place it on the output shaft and test with compressed air to make sure the clutch pack works correctly and doesn't leak.I also replaced the forward clutch drum and output shaft assembly.Same process for the forward clutch drum. Replace the apply piston rings and compress the piston return spring. Pre-soak your friction plates and assemble the forward clutch pack.This part was fairly difficult: In the reverse clutch drum assembly, from the bottom is the reverse drum apply piston(new seals) a metal ring that sits on top, a bellville disk and a very difficult to install wavy snap ring. I didn't get any pictures of the install as I was too busy cursing at it. Once you get the snap ring installed you can put in the reverse clutch pack and snap ring.After replacing the seals and front pump bushing, you can set the reverse drum on the forward drum and input shaft assembly. Then install the mechanical diode, new diode retaining ring from the Sonnex Sure Cure kit, and place the pump on top to correctly size the replacement rings.Next down the stack to work on is the planetary gearset.New bushing installed. Make sure to recess your bushings as many thrust bearings have lips.Now that we have the rings, seals, bushings, bearings, drums, and subassemblies fixed, replaced, scotch brited, lubed, and assembled, it's time to put it all back inside the case. First down is the case to ring gear bearing, output shaft and ring gear assembly, thrust bearing, direct clutch assembly with direct clutch hub, a snap ring that the reverse band sits on, and reverse band (pre-soak the reverse band).This step was probably the hardest part of the whole rebuild: getting the planetary gearset in place and having it seat all the way down into the ring gear and spline with the direct clutch hub. You place the planetary gear support onto the gearset (making sure to seat it all the way into the one way clutch), and hold the gearset from the inside to set it onto the direct clutch. Spin the output shaft from underneath and the gearset will drop partially. Slightly lift and turn the gearset back and forth and it should(!) spline into the direct clutch hub. Then install the anti-clunk spring between the support and case, and install the case snap ring. The rest is smooth sailingNext up install the thrust bearing onto the sun gear and install it into the planetary gearset. Place the reverse sun gear assembly on top, another thrust bearing and the forward clutch hub and bearing.Intermediate stub shaft should fit into the direct cluctch drum. You can then drop on your input shaft/reverse clutch drum assembly, overdrive band (install the overdrive servo piston and make sure that the band seats on the case peg and piston). Drop in your intermediate clutch plate pack, wavy spring and then your pump. Transmission assembly lube will help keep your plastic front pump support washer in place while you install the pump. Also apply some to your case and pump O ring when installing.All in place and bolted up. Now we can go onto the valve body work.Remove the cover plate, shift solenoid, and lockup solenoid. Clean up your gaskets.Flip, remove reinforcing plates, separator plate and gaskets. Remove check balls, the solenoid pressure supply filter screen, and converter drainback valve.Clean all your parts. I've "yadda yadda yadda"'d a bit here, but replace all the parts in the Sure Cure kit. I ended up replacing the pressure regulator boost valve and sleeve, main pressure regulator valve, the bypass clutch control sleeve and plunger, the 2-3 shift valve cover, the overdrive servo boost sleeve and plunger, and the solenoid pressure regulator valve spring.Reverso chango with new gaskets and checkballsHere are the parts I've replaced on the valve body (check balls had some odd wearing, so I replaced them out of caution).Next up is replacing the servo pistons, springs, covers, snap rings, and pressure control valve. Old parts are on the right.All installed, along with the wiring connector, the plastic screen(not shown), the parking pawl actuating rod, control lever, and detent assembly. Next up is the valve body and gasket, the wiring circuit board, filter, pan gasket and pan. Remember to replace your tail housing output seal and gasket.A tip for cleaning up your bolts: ziplock and some mineral spirits and give them a good shake.Obligitory shot of the replaced parts and finished rebuildInstall was a fairly straight forward reverse of the removal. New flex plate, dipstick o-ring, and torque converter.All buttoned back up!