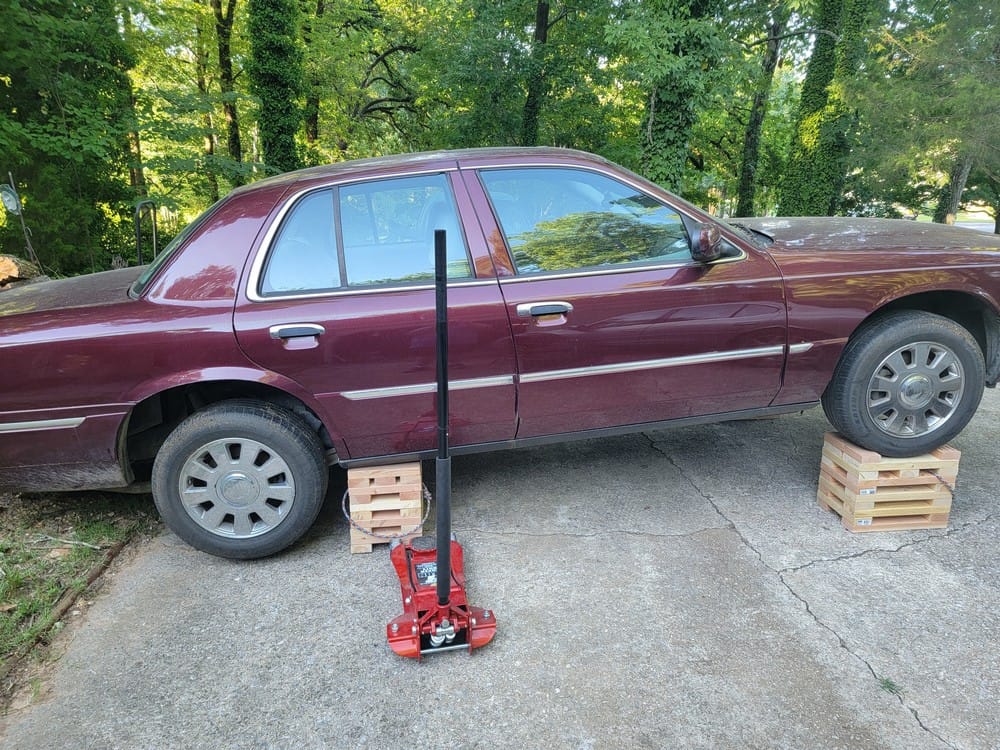
Now that I have the cribbing material (made here), It's time to pull the transmission out of my 2005 Mercury Grand Marquis.
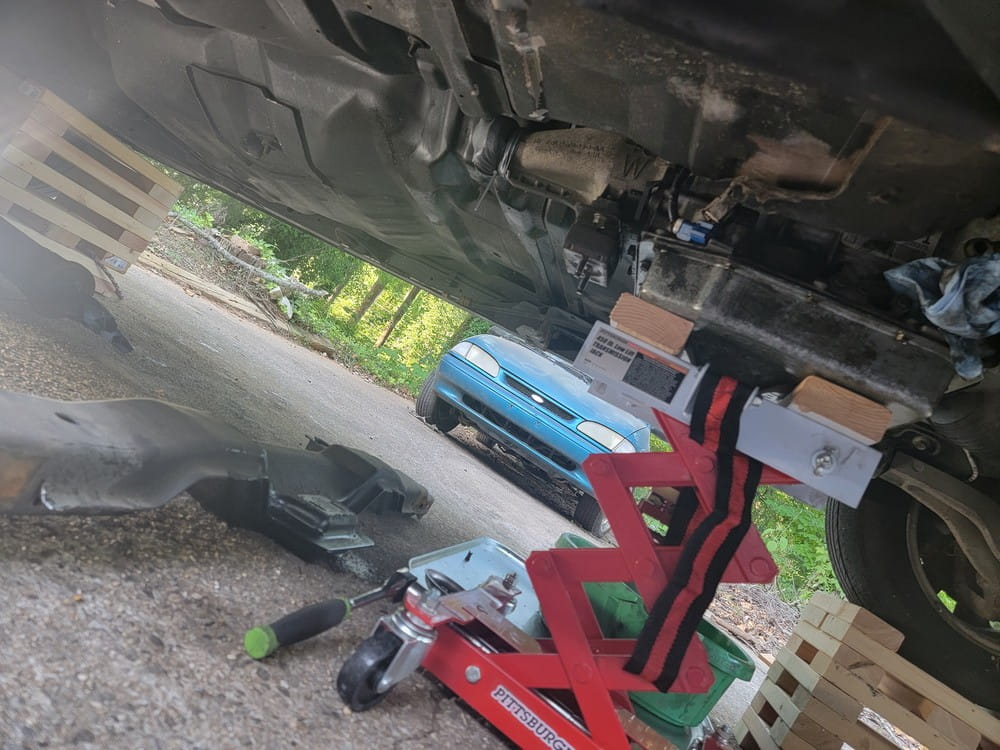
Let's get it up on the blocks and see the condition of the car (this will be the first time I've looked under it since buying it over the winter.
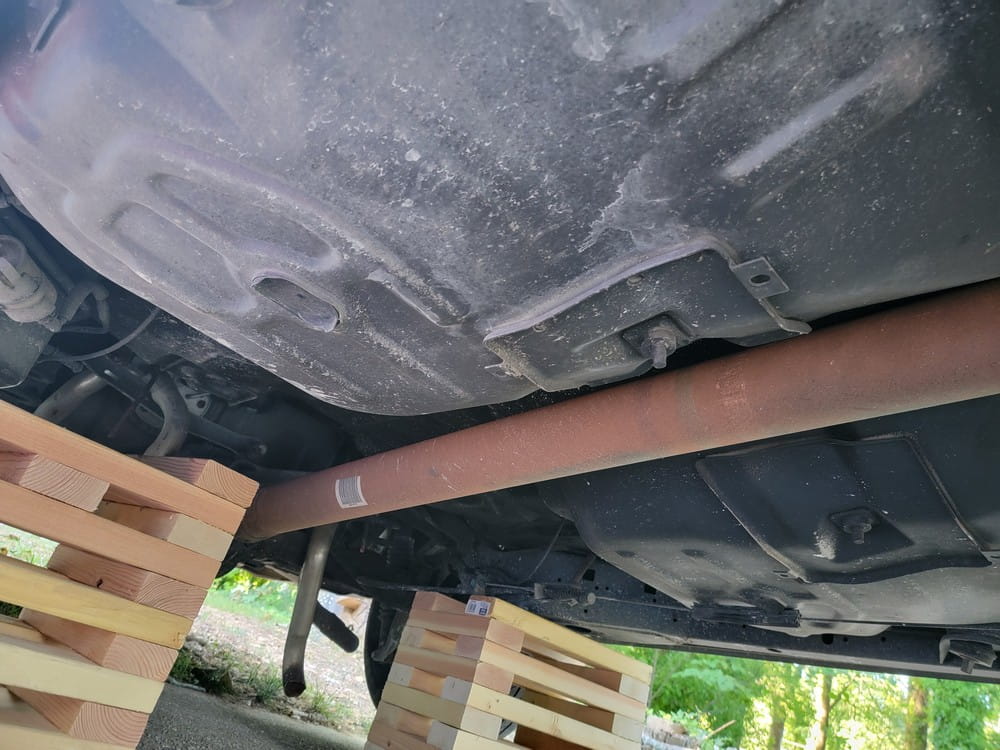
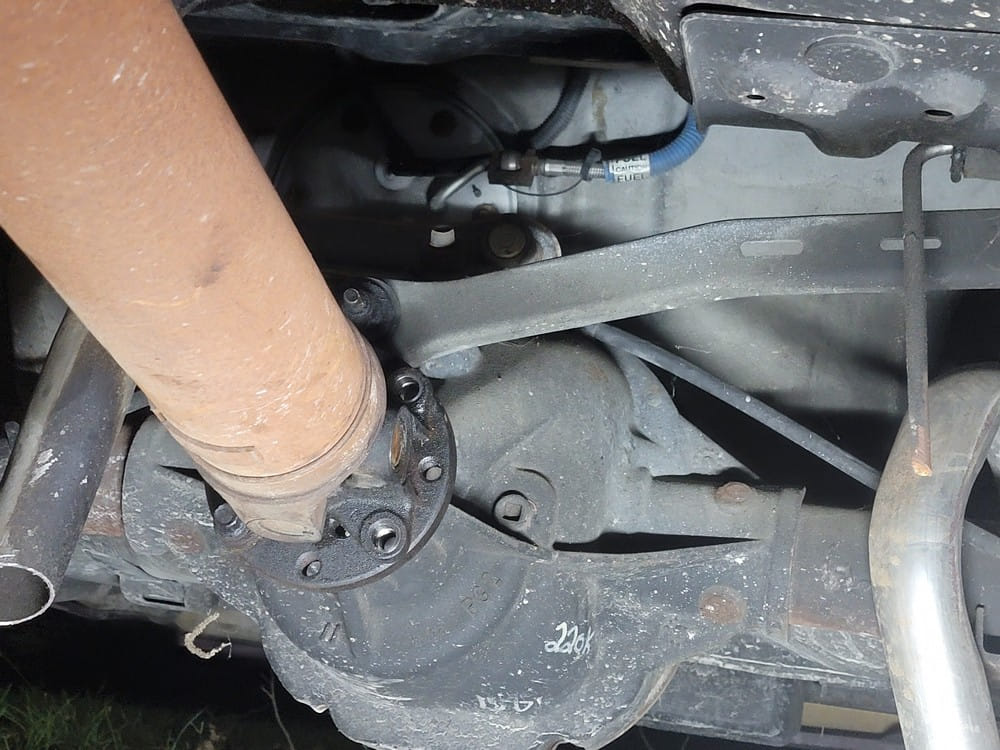
Front end all the way up, back end on frame railsPretty clean for a 12 year old car with 250k miles on itNo obvious signs of any fluid leaks, everything looks clean
The previous owner cut the exhaust right behind the exhaust manifold flange so luckily it will be easy to replace. It will also make the transmission removal easier too.
Pitter patter:
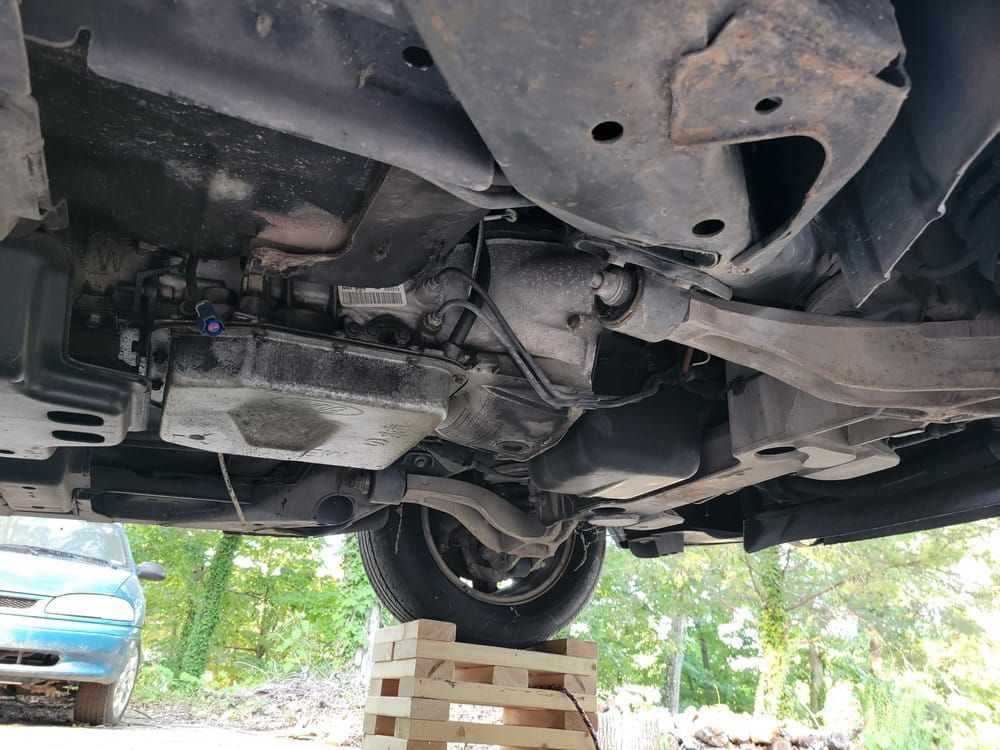
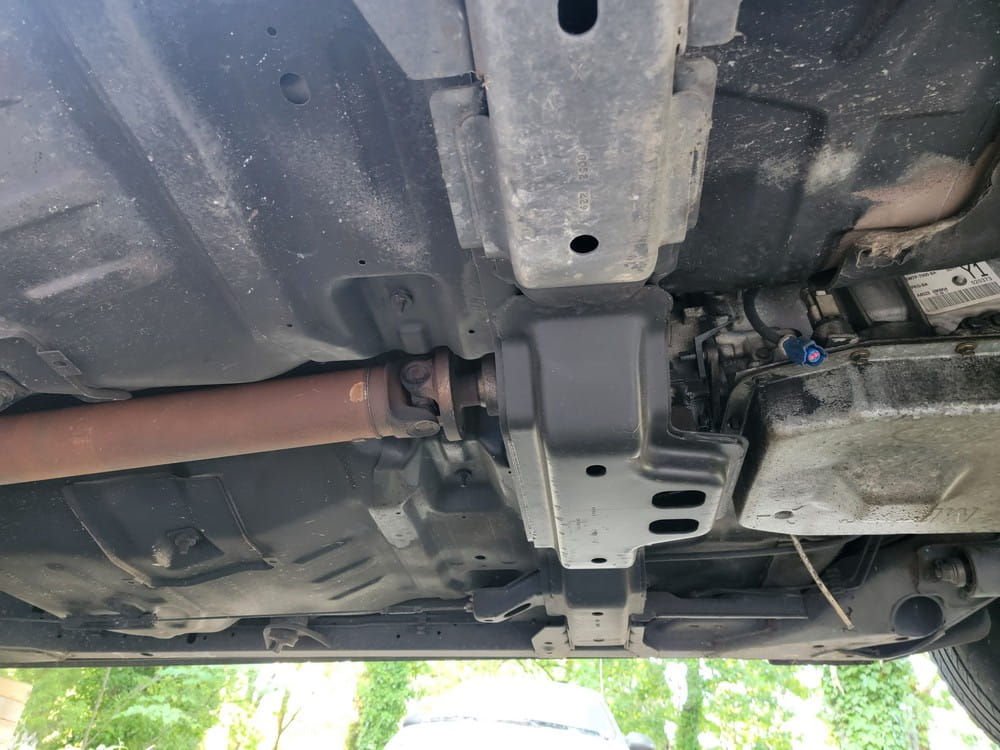
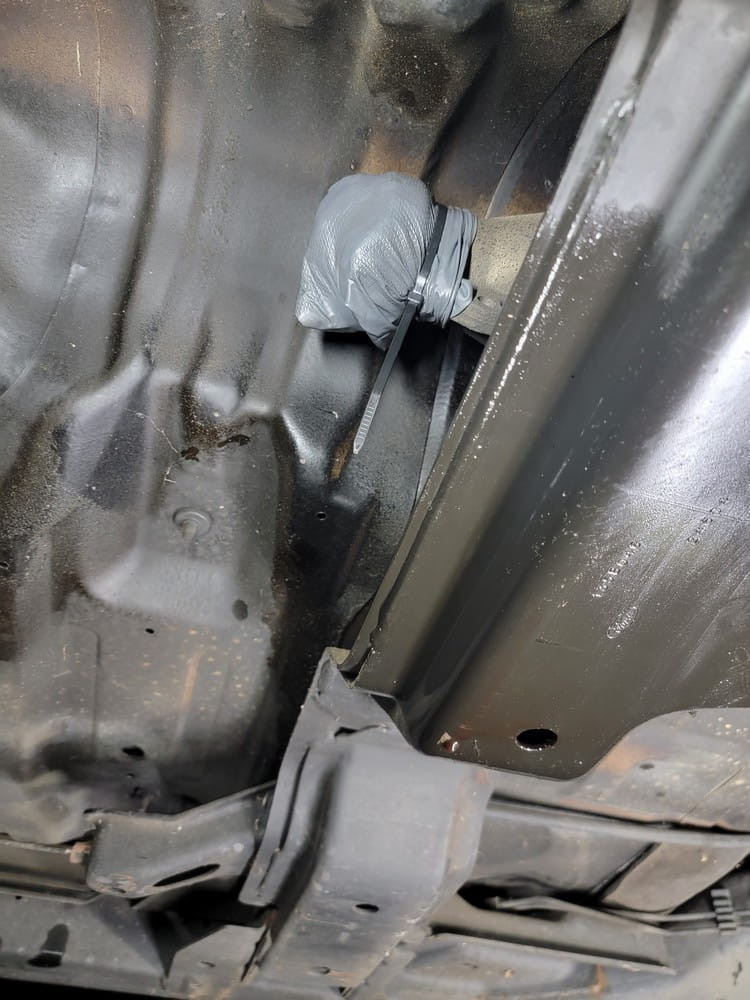
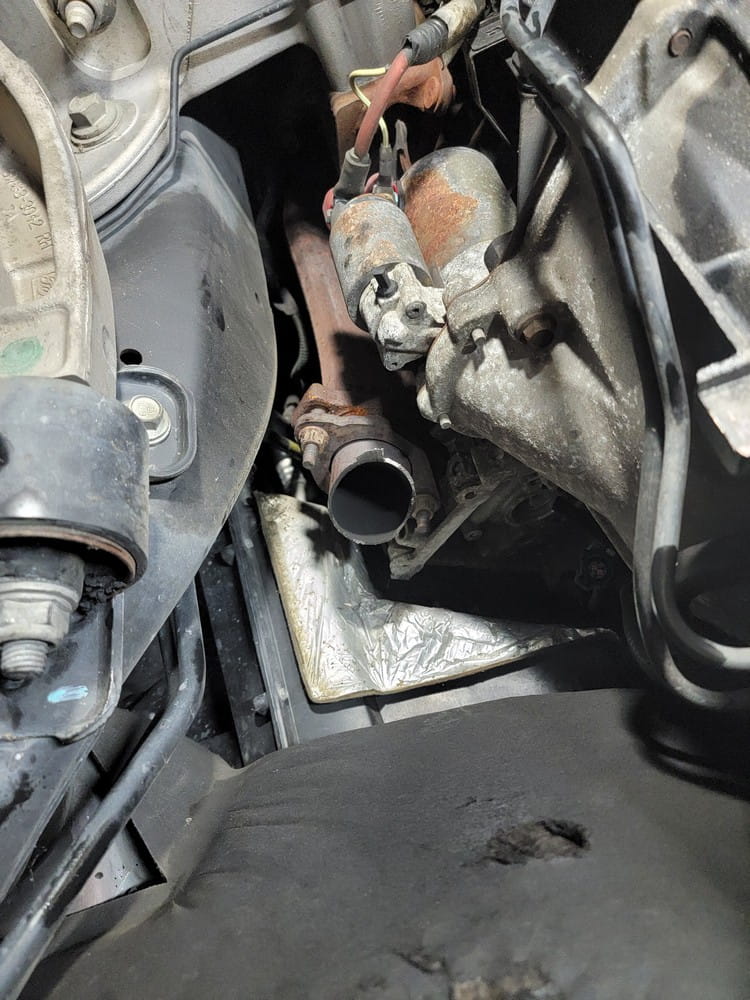
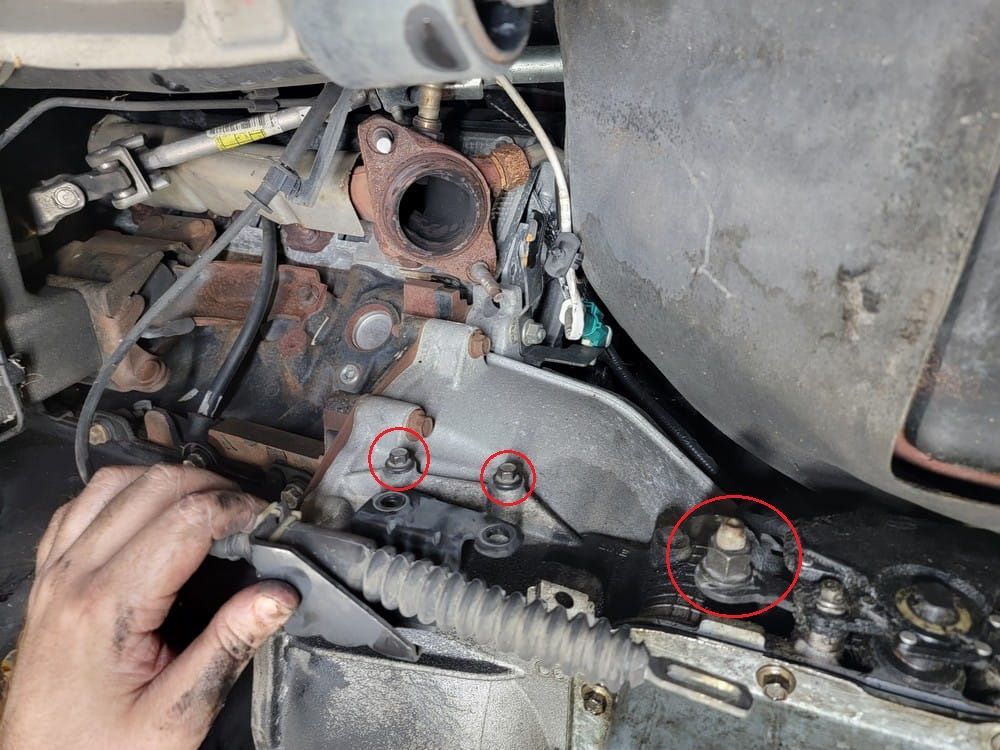
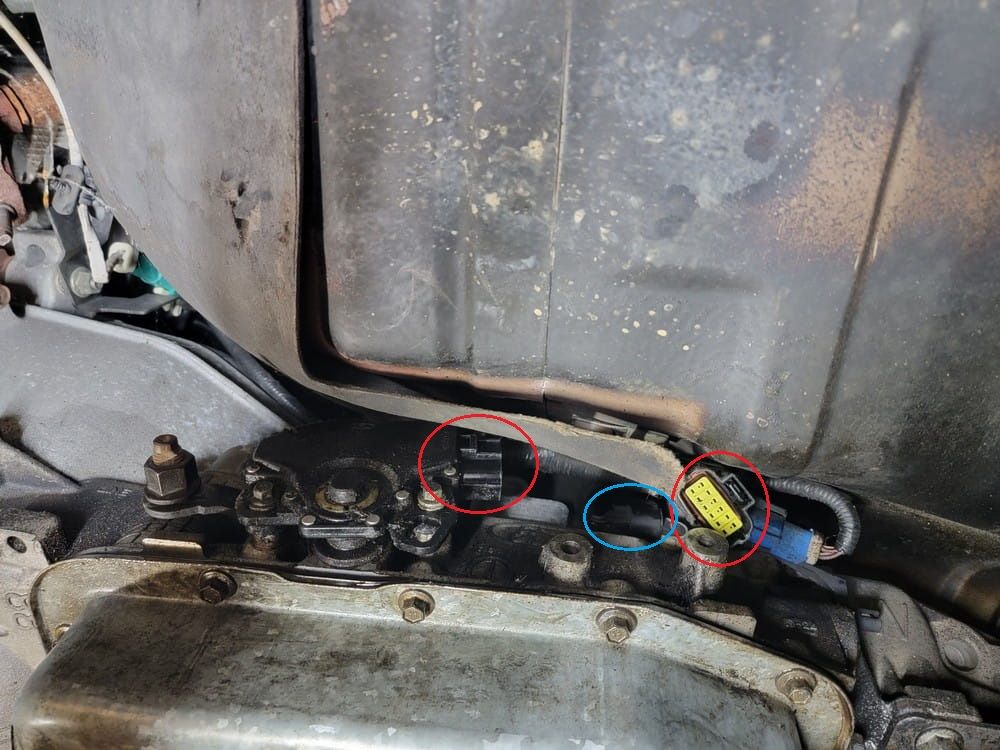
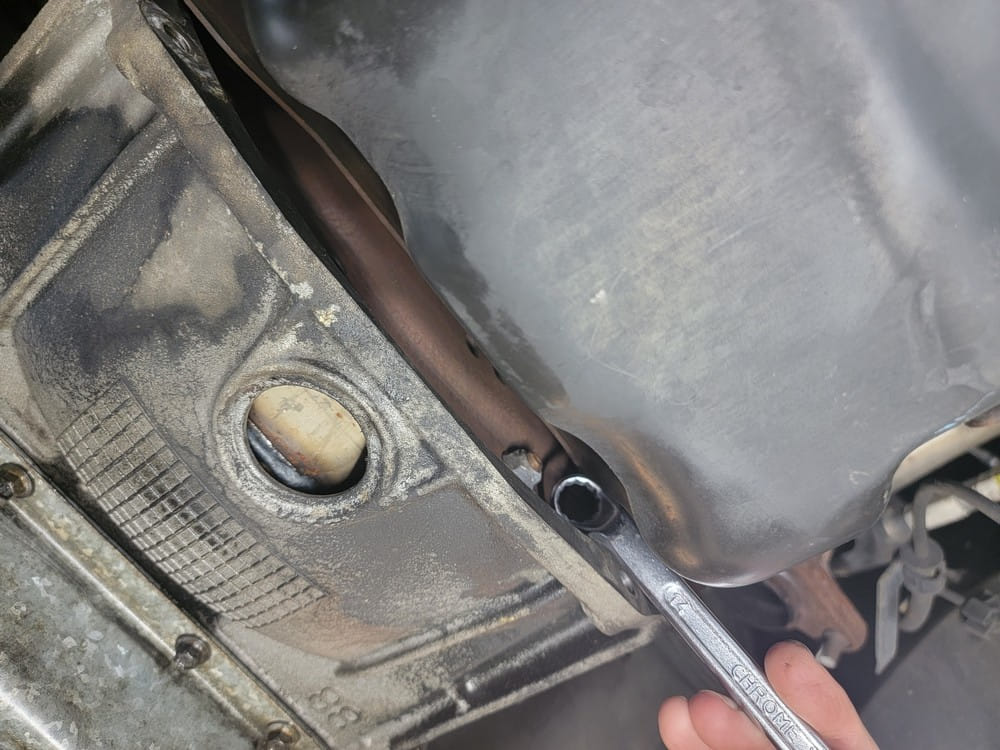
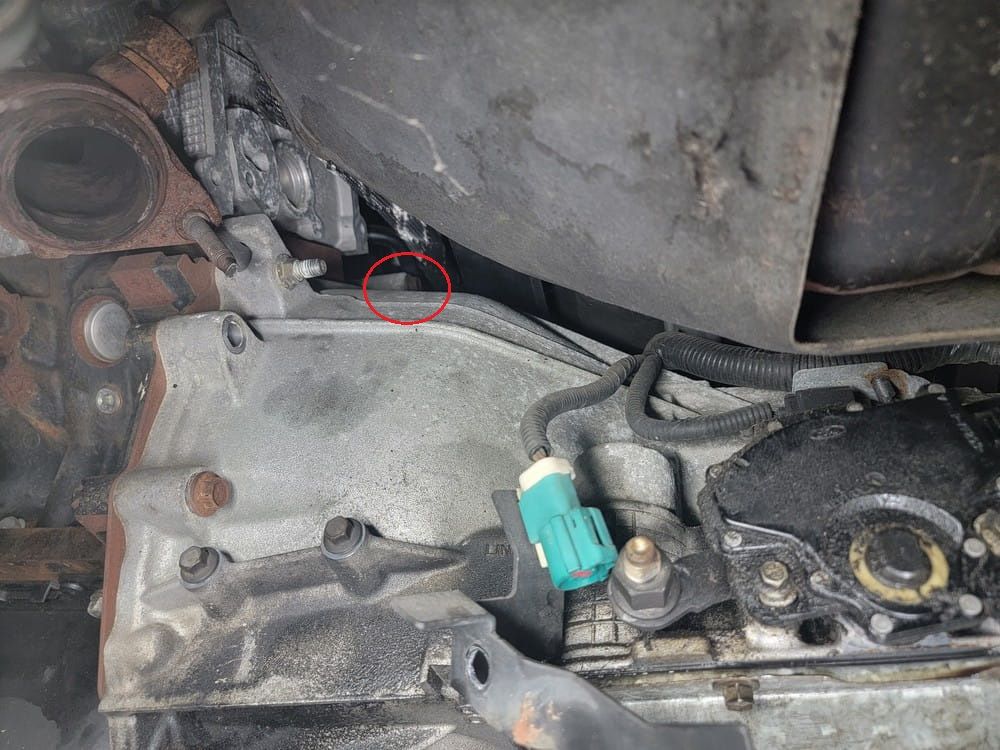
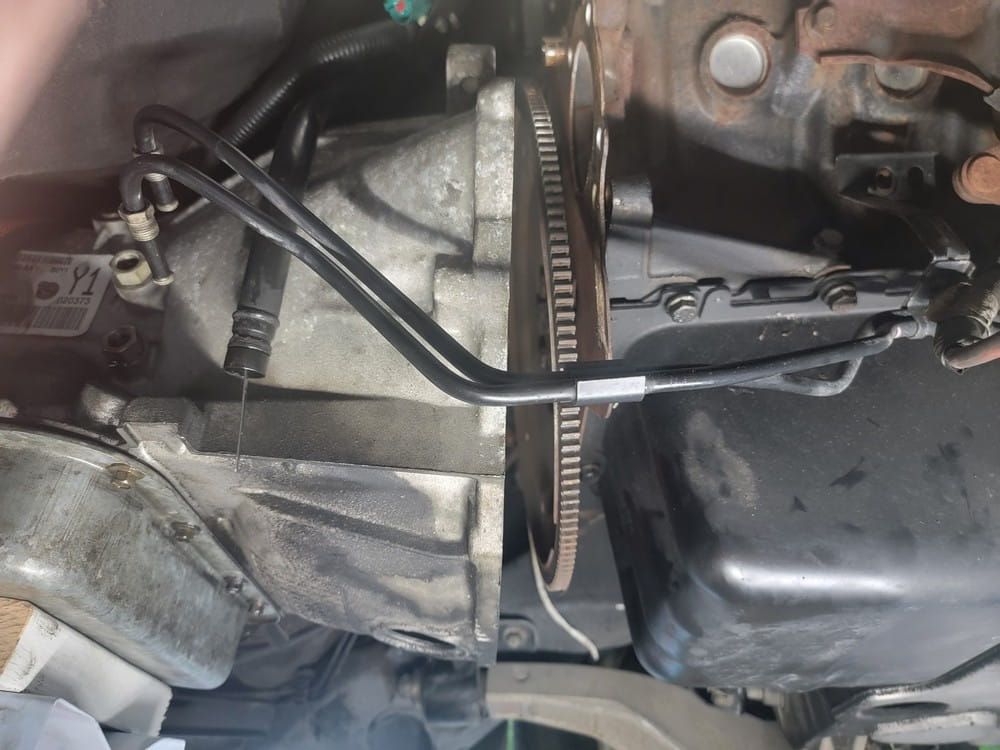
Remove the 12 point 12mm bolts to separate the drive shaft from the rear differentialI zip tied a glove over the transmission tail housing to help reduce leaking fluidNext remove the exhaust flange bolts (15mm). I'll remove the flanges and the remainder of the pipe. Remember to unclip or remove your O2 sensors from the dropped portion. Also remove your starter. Disconnect the wires and use a 10mm deep socket and extension to get the topside bolt. Disconnect your battery before removing the starter.Next remove the two 10mm bolts and 18mm nut to remove the shift linkage from the driver's sideDisconnect the transmission range sensor(red), and if you can reach them, the input and output speed sensors behind the range sensorAt the bottom of the transmission, remove the inspection plateUsing a 14mm offset box end wrench, remove the 4 torque converter nuts from the flexplate. They can be accessed through the inspection plate removed in the previous step. Use an 18mm socket and ratchet on the crankshaft to turn the engine over to get to the other nuts on the flexplate.Remove the passenger side top bell housing bolt(13mm) and lift the dipstick tube out. Disconnect your cooler lines from the passenger side.Support the transmission with a transmission jack, and remove the transmission crossmember. 4x13mm bolts that are removed from the rear side of the member on the ends and the 15mm nuts from the transmission mount in the middle. You'll need a large prybar and a lot of curses to remove it.Once the crossmember is out, you can lower the transmission and get the driver's side top bellhousing bolt (13mm). It's much easier to get to from the rear with a lot of extensions.Remove your passenger side bolt if you didn't in the previous step. Long wobble extensions help.
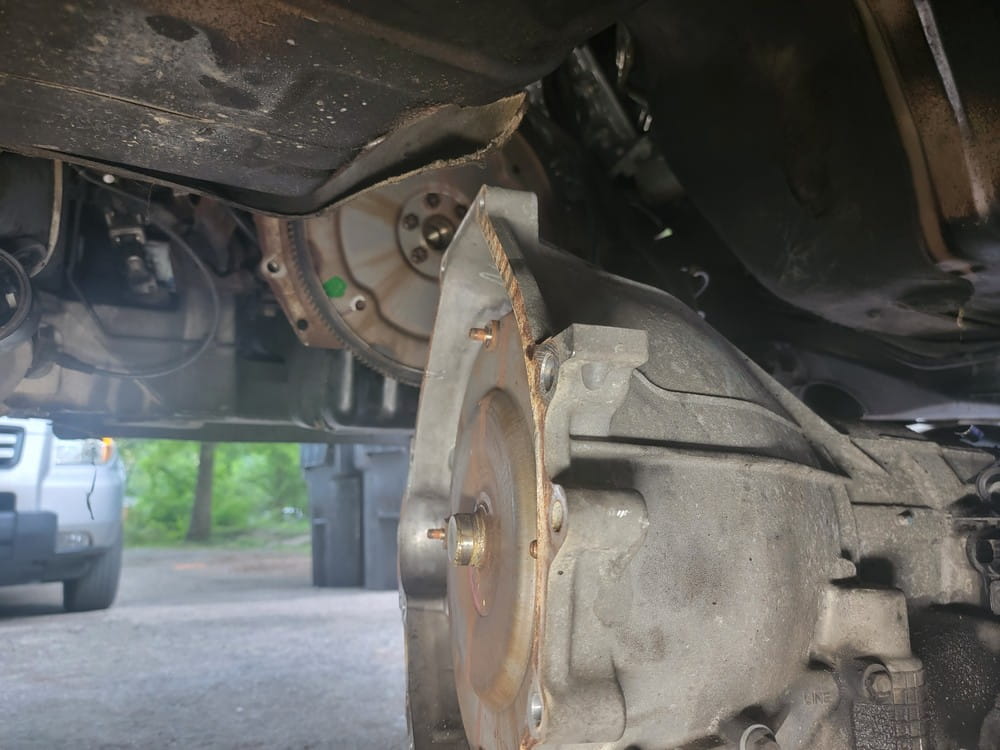
Remove the remaining 13mm bellhousing bolts, and you're ready to separate:
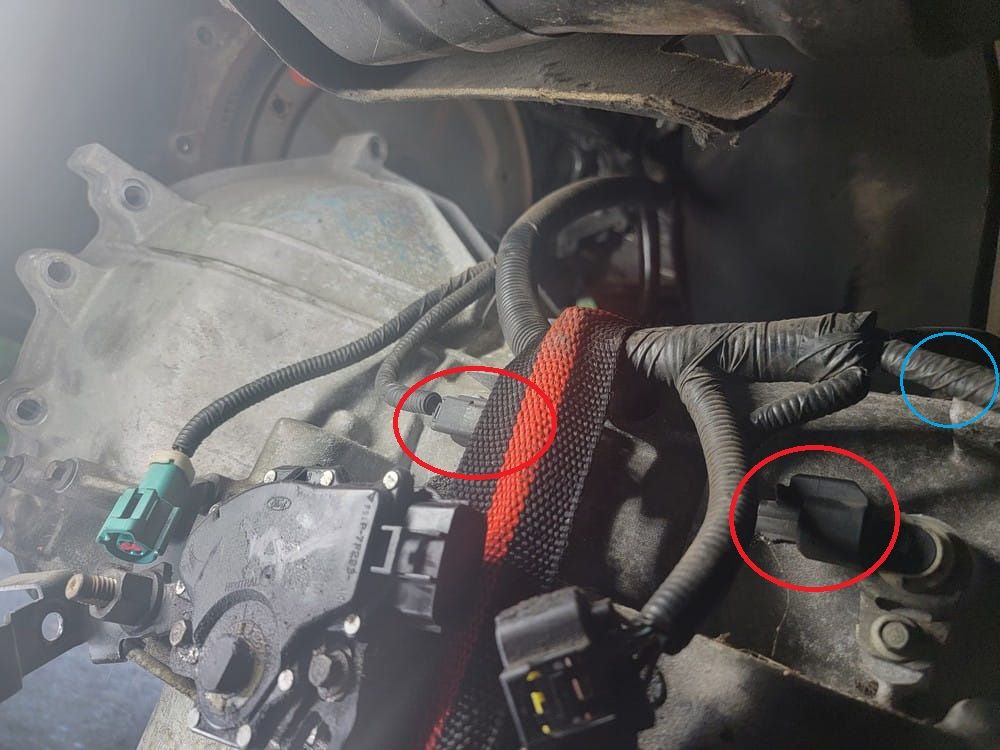
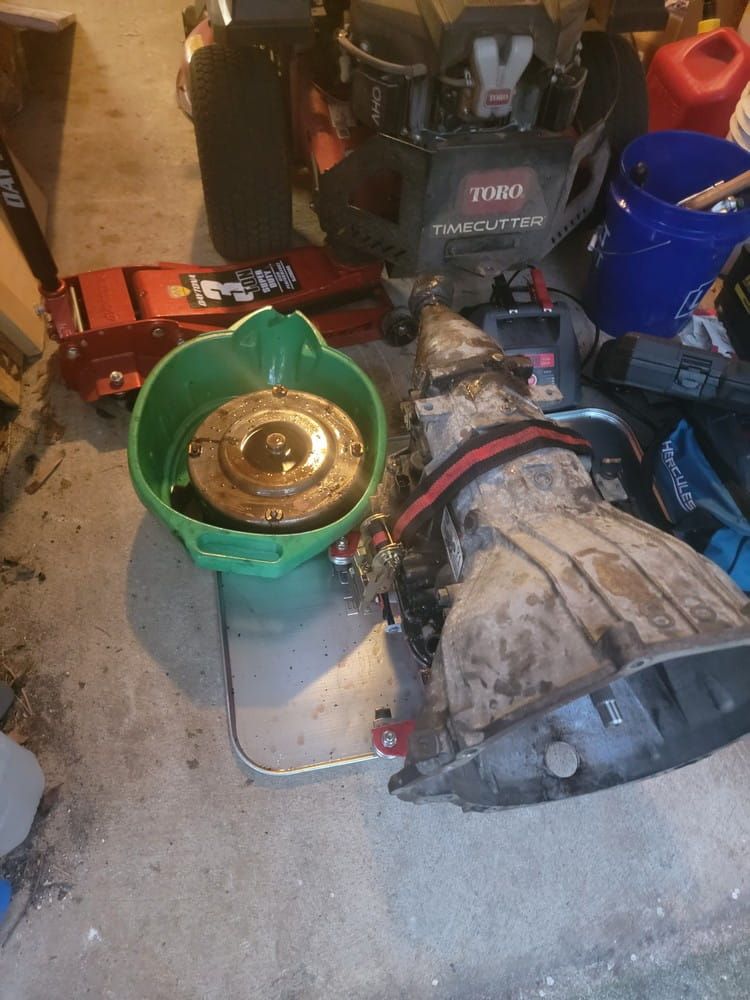
Go slow and make sure you aren't catching the cooler lines or the wiring harness (it will still be attached to the top of the transmission).Make sure to unclip your speed sensors (red), and unclip the harness from the top (blue). The harness should be separate from the transmission at this point.Roll it out and store in your garage for an indeterminate amount of time.